Guides
Standard and Pro
PDF Colours and Branding
Choose a colour theme for your pattern PDFs with Standard, or add your own logo, colours, footer text and instructions with Pro.
Both plans include PDFs without Xstitchify branding. Compare plans.
Open the branded Rubber duck PDF (new tab)
This example uses the blue logo and purple colours shown below.
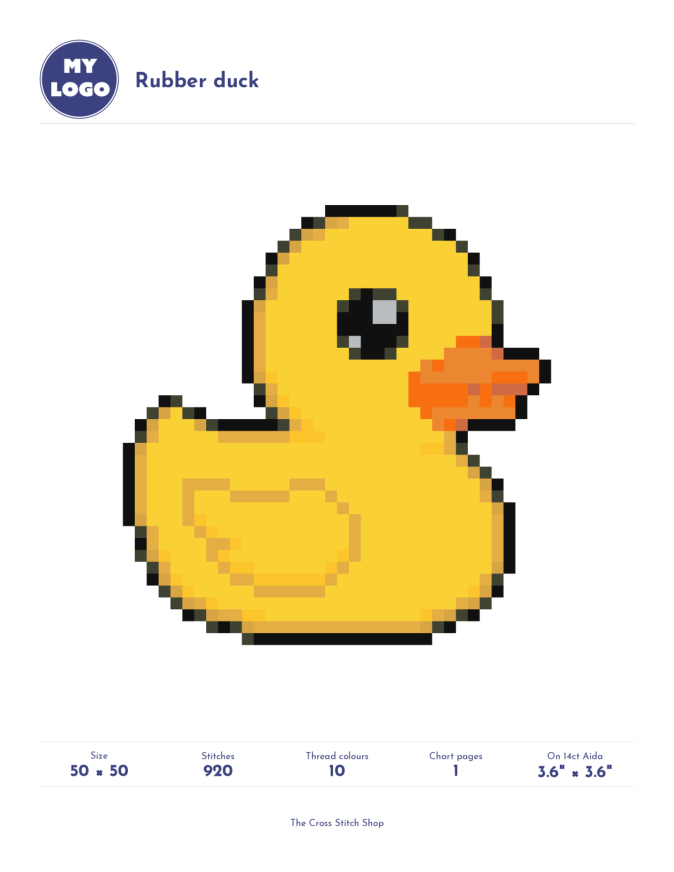
Open PDF settings to choose your PDF appearance. You can also get there from Settings in the sidebar.
Jump to Standard colour themes, Pro custom branding or custom instructions.
Standard: preset colour themes
In PDF appearance settings, choose Classic, Ocean, Plum or Monochrome, then select Save PDF theme. The cards show a preview of each theme.
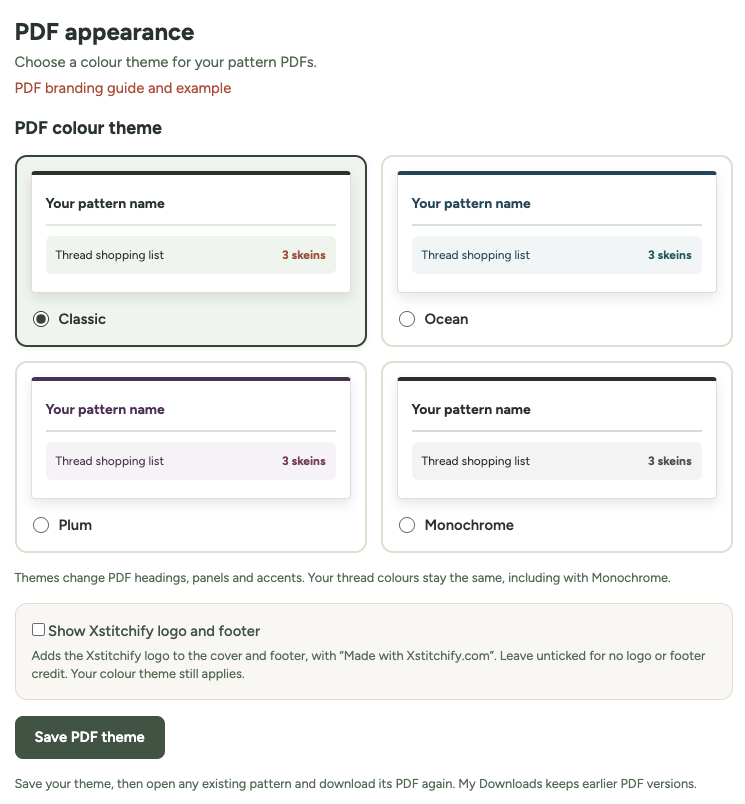
Themes change headings, panels and accents. Your thread colours stay the same. Monochrome gives the page a grey colour theme; use the separate black-and-white chart option if you want to print without coloured stitches.
Standard PDFs have no logo or footer credit by default. Tick Show Xstitchify logo and footer in Settings to include the Xstitchify logo and “Made with Xstitchify.com”, then select Save PDF theme. Your chosen colour theme still applies. Adding your own logo, custom colours, footer text or instructions is available with Pro.
Pro: custom PDF branding
These custom branding options are only available on Pro accounts. Start with a preset theme or choose your own colours, then add your shop's logo, footer and instructions.
Set up your branding
Go straight to PDF Branding settings.
- Upload your logo and choose its position, brand colours and footer options. Write instructions, import a Word document or upload a PDF if you want instructions included.
- Select Save PDF settings.
- Choose See sample PDF in the account settings to open Rubber duck with your saved branding in a new tab.
The colour preview changes as you try colours. Save first before opening the full PDF sample.
Choose a clear logo and a suitable size
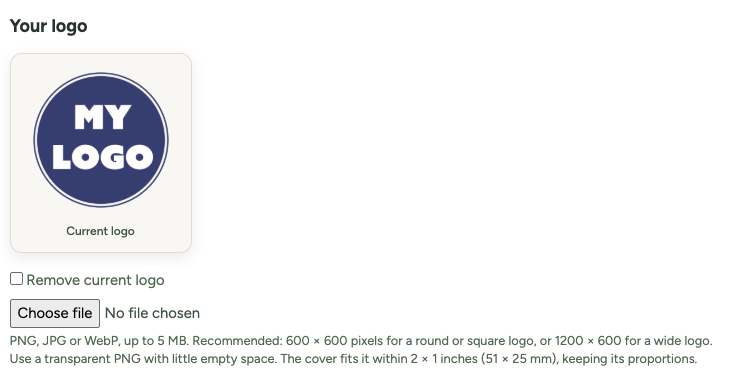
- Round or square logo: aim for 600 × 600 pixels.
- Wide logo: aim for 1200 × 600 pixels, or a similar wide shape.
- File type: PNG, JPG or WebP, up to 5 MB. A transparent PNG usually works best on the white PDF page.
- Printed size: the cover fits your logo inside a box up to 2 inches wide × 1 inch high (about 51 × 25 mm), keeping its proportions. A square or round logo can be up to 1 inch across.
The whole logo stays visible. A wide logo will be shorter than a square one. Very small uploads stay smaller to avoid blurring; a higher-resolution file gives the renderer more detail to work with.
Logo still looks small? Crop unnecessary white space around it before uploading. A large image with a tiny logo in the middle still produces a small-looking logo. Use the PDF sample to judge its printed size, rather than the miniature position previews.
Logo position and footer logo
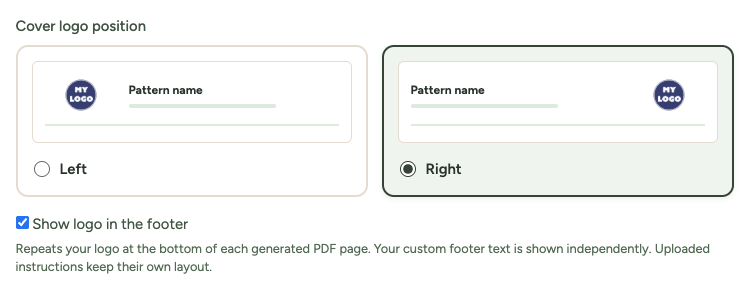
Cover logo position places the logo to the left or right of the pattern title. Tick Show logo in the footer to repeat a smaller version at the bottom of generated PDF pages. Uploaded instructions retain their own layout.
Set your brand colours
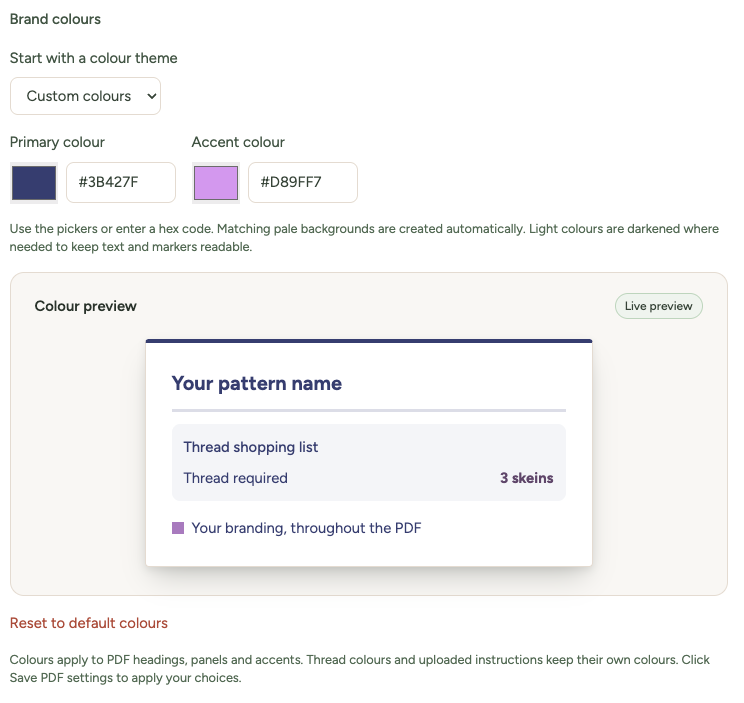
On Pro, you can start with a preset colour theme, then adjust either colour to match your brand.
Choose a Primary colour for headings and related text, and an Accent colour for highlights and chart markers. Use the colour pickers or enter six-digit hex codes such as #3B427F.
Xstitchify creates matching pale panels and dividers automatically. Light colours are darkened where needed to keep text and markers readable, so the final shade may differ from the colour you entered.
The live preview shows the effect. Reset to default colours restores the Xstitchify palette; save the settings to apply the reset. Branding colours also apply to instructions you write or import from Word. They do not change thread colours or the pages in an uploaded PDF.
Pattern titles and custom footer text
Your saved pattern name becomes the PDF cover title. Rename a pattern from the editor's three-dot menu or your pattern library, then export a new PDF.
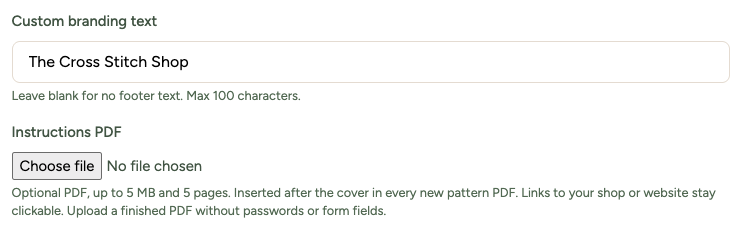
Use Custom branding text for your shop name or a short credit, such as The Cross Stitch Shop. It appears in the footer of generated pages and can be up to 100 characters. Pro users can leave it blank for no footer text.
The footer text and footer logo are separate choices. For a clickable shop link, use the web link button in the instructions editor, or include a link in your uploaded PDF.
Include your instructions and shop links
Add your stitching guidance, a welcome message or shop details to every new pattern PDF. Write them here, import a Word document or upload a finished PDF.
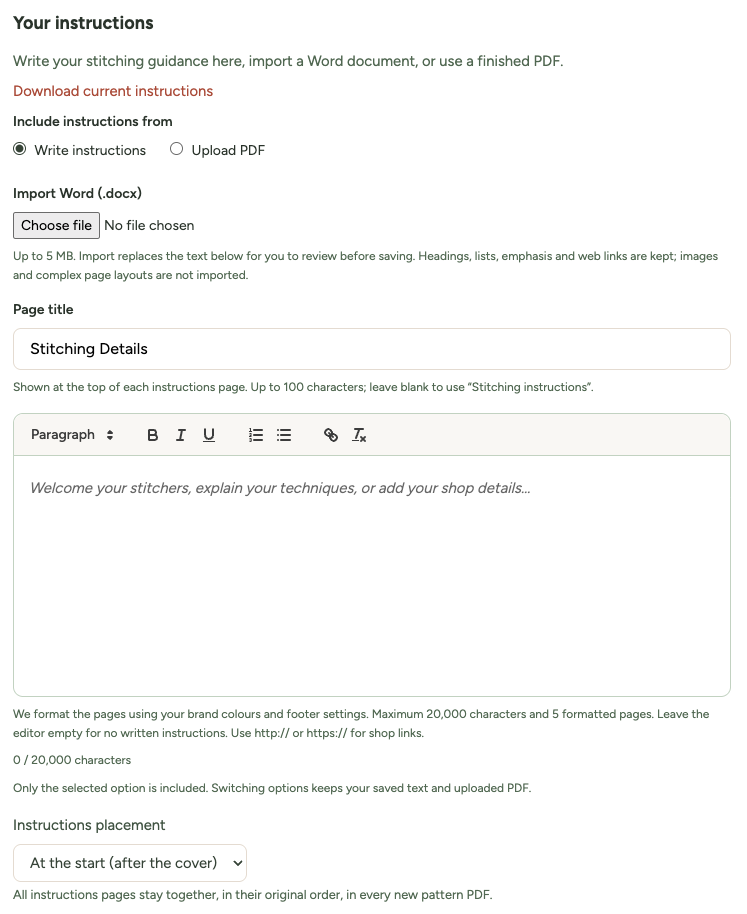
- Under Your instructions, select Write instructions. Type or paste your text into the editor, or use Import Word (.docx) to start from a document.
- Edit Page title to choose the heading shown at the top of each instructions page, such as Stitching Details. Use up to 100 characters; leaving it blank restores “Stitching instructions”.
- Select text and use the toolbar for headings, bold, italics, underlining, bullet points or numbered steps. Use the link button to add a clickable shop or website address beginning with http:// or https://.
- Choose Instructions placement: At the start (after the cover) puts the pages before the thread key and chart; At the end puts them after all the pattern pages.
- Select Save PDF settings. The button shows Saving…, then Saved, with a green PDF settings saved confirmation beside it. Making another edit clears the confirmation until you save again.
- Open See sample PDF to check your saved instructions, title, formatting and page breaks. You can also use Download current instructions to download just the saved instructions pages.
Xstitchify formats written and Word-imported instructions using your saved brand colours and footer settings, including your logo when Show logo in the footer is selected.
Import Word (.docx) loads a document of up to 5 MB into the editor. Import replaces the editor text for you to review before saving. Headings, lists, emphasis and web links are kept; images and complex page layouts are not imported. Older .doc files are not supported.
Written instructions can contain up to 20,000 characters and must fit within 5 formatted pages. If they need more pages, saving shows a message so you can shorten them. Clear the editor and save to remove written instructions.
Alternatively, choose Upload PDF for a finished PDF of 1 to 5 pages, up to 5 MB. Use pages no larger than 20 inches per side, without password protection or editable form fields. These pages keep their original colours, layout and web links; Xstitchify does not add another logo or footer to them.
Only the selected option is included. Switching between Write instructions and Upload PDF keeps your saved text and uploaded file so you can use either again.
The placement setting applies to both written instructions and uploaded PDFs. All instructions pages stay together in their original order.
Export without branding
On Pro, tick Remove branding and select Save PDF settings. New PDFs and your account's Rubber duck sample use the default colours, with no logo, custom footer text or instructions pages. Pattern titles and page numbers remain.
Your saved logo, colours, footer and instructions are kept. Untick the checkbox and save to use them again. You can also remove just your logo or leave the custom footer text blank independently.
Update PDFs for existing patterns
You can apply your new theme or branding to any existing pattern. Save your PDF settings, open the pattern and download its PDF again. Your theme or branding also applies to large-print and black-and-white PDF charts. See Large Print Patterns and Printing Patterns for those options.
My Downloads contains your previously exported files. To update one, select Edit to open its pattern, then download the PDF from the editor. Re-download retrieves the earlier PDF version.
Uploading a new logo or instructions PDF replaces the one saved in Settings. Your patterns remain available to export with the new branding.
These settings apply to PDF exports. PNG and SVG downloads keep their own appearance.
Was this guide helpful?
Still need help?
Send us a message and we'll get back to you as soon as we can. You can also reply to any email from Xstitchify.