Guides
How to Use the Pressure Brush
The pressure brush is a drawing tool in the pattern editor that adjusts its stroke width based on how hard you press with a stylus. It's the most natural way to write letters, trace handwriting, and draw flowing cursive shapes directly onto a cross stitch grid - giving you the thick-and-thin variation of real handwriting, one stitch at a time.
Want typed text instead? If you just need words, names, or quotes in a cross stitch pattern quickly, our text generator is faster - pick a font, type your text, and download instantly. The pressure brush is for freehand drawing and tracing real handwriting stitch by stitch.
What the Pressure Brush Does
When you draw on the grid with a regular brush, every stroke comes out the same width - whatever size you've set. The pressure brush changes this: the width of each drawn stroke scales with the pressure you apply to your stylus. Press lightly and you place a single thin stitch. Press harder and the stroke widens to fill a larger area.
This makes it ideal for:
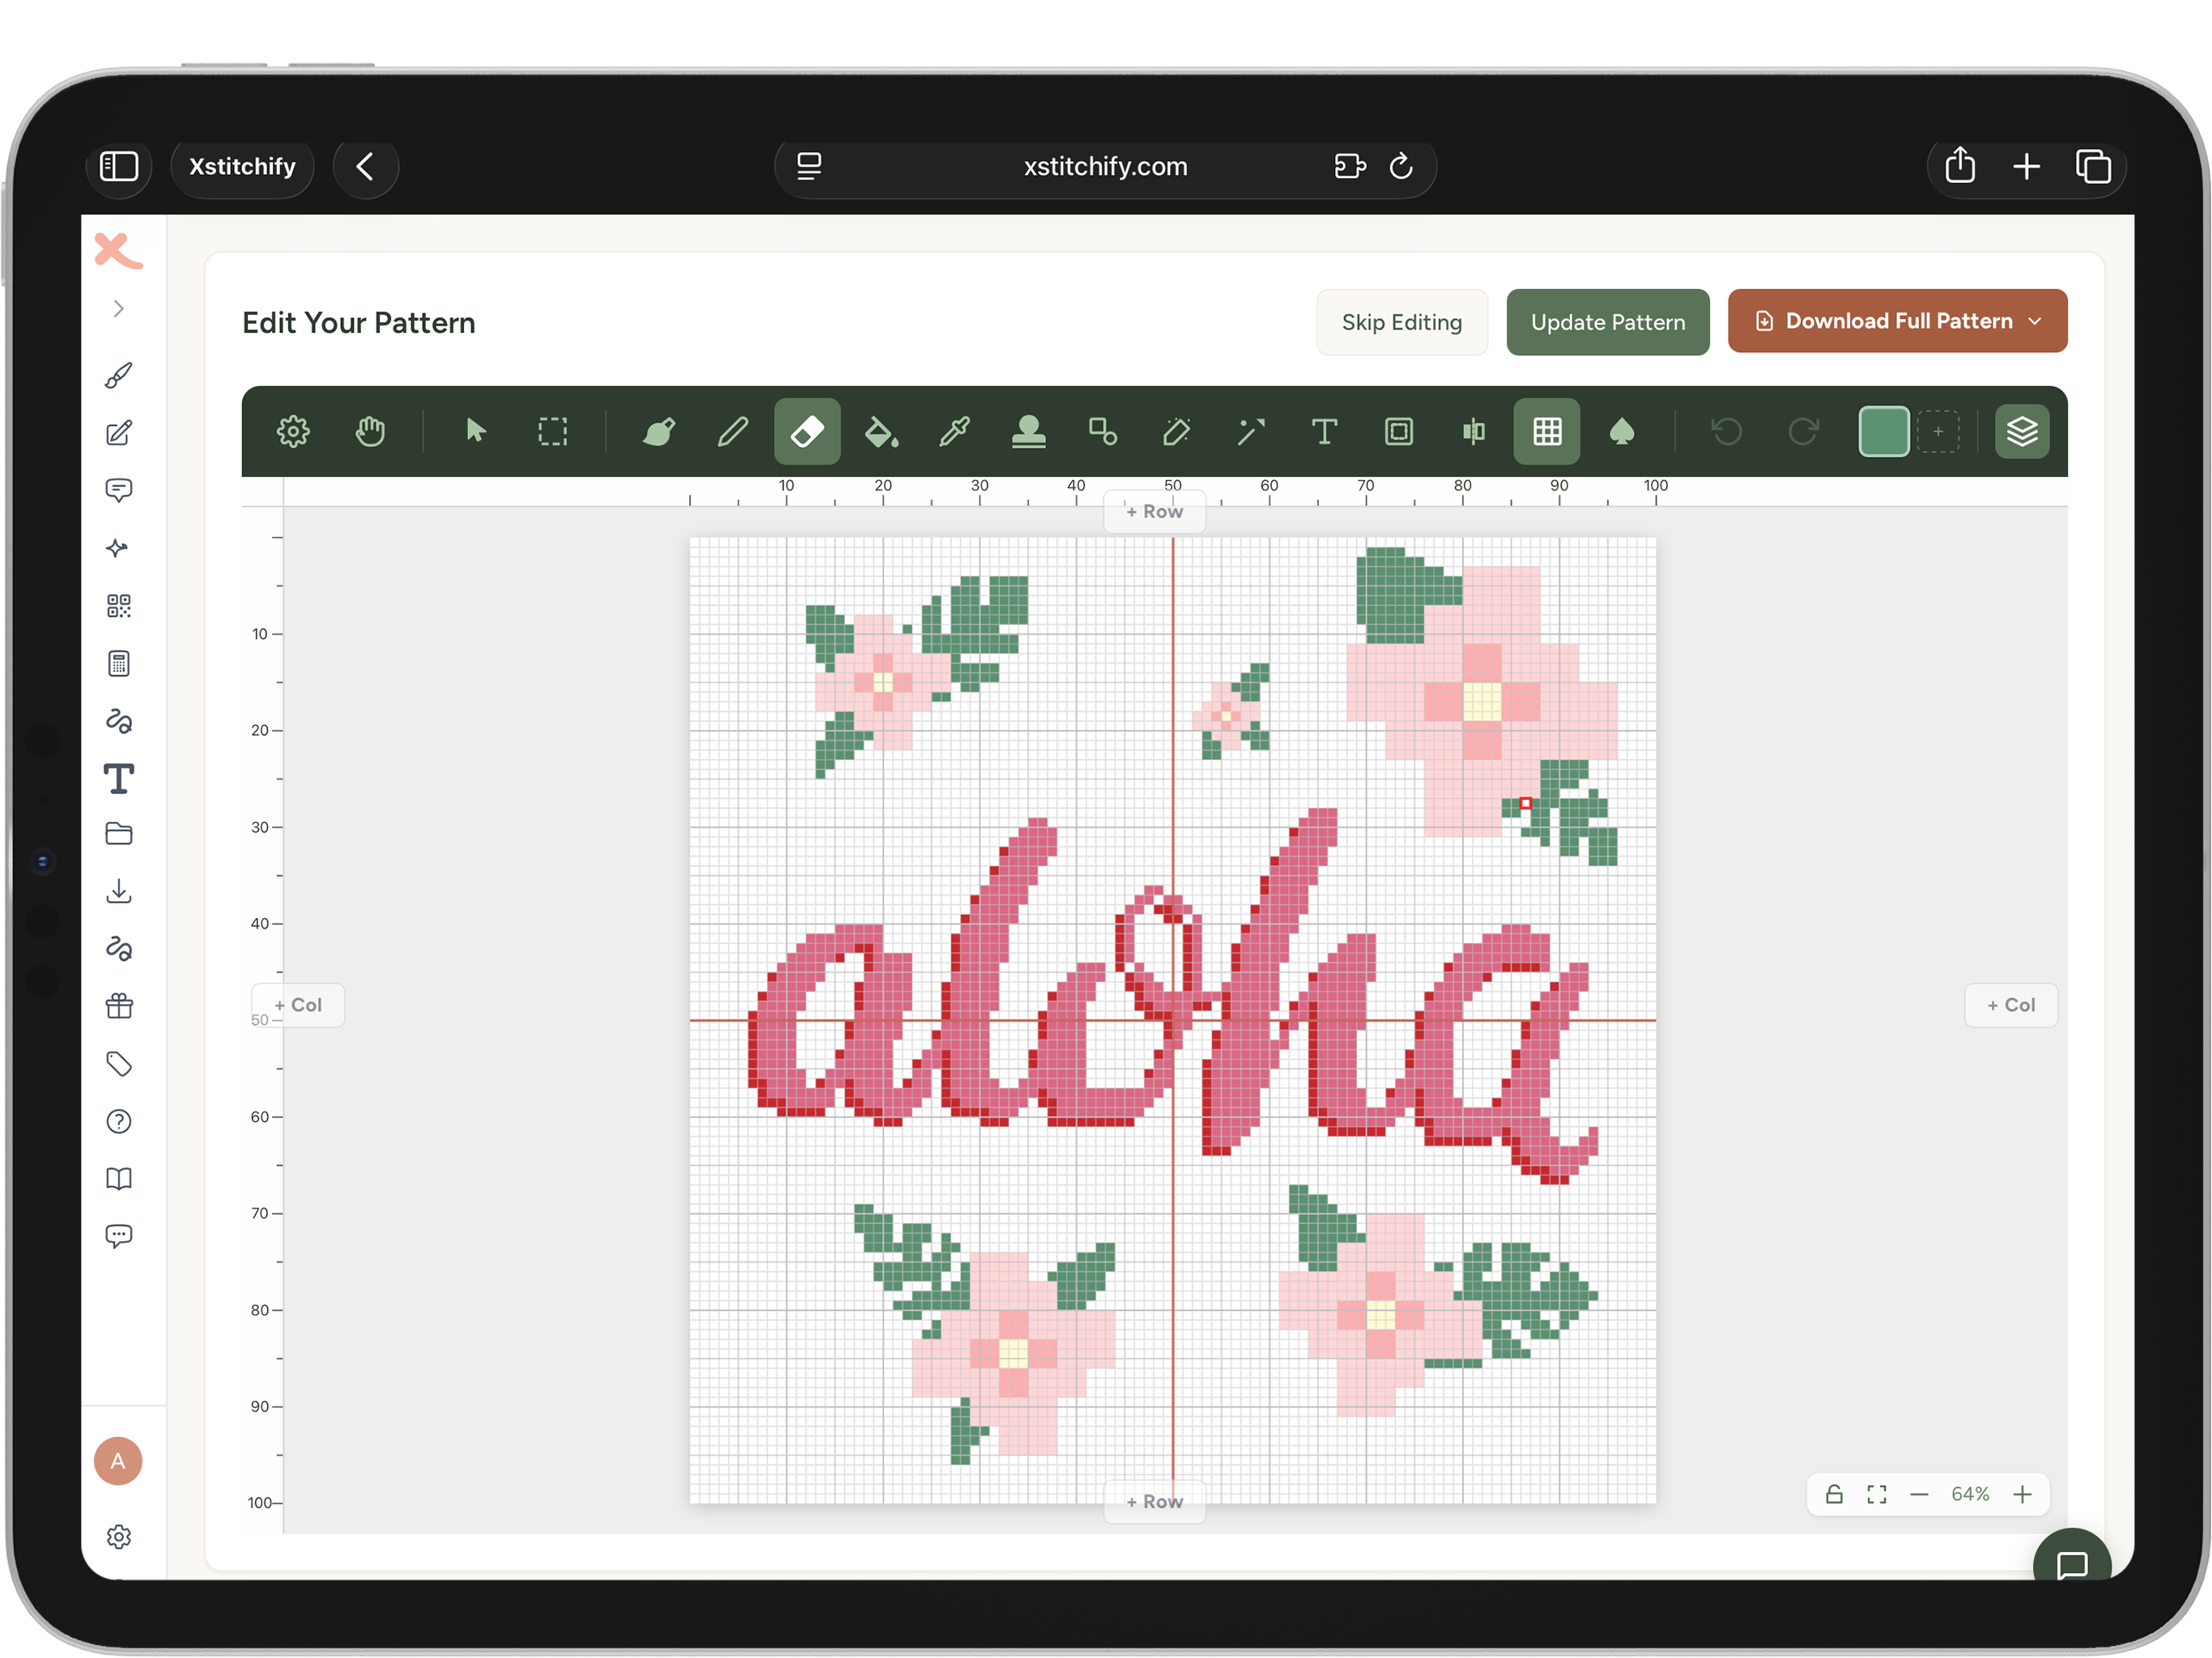
- Writing cursive letters in cross stitch - the natural variance in pen pressure mirrors how real cursive looks, with thin upstrokes and thick downstrokes
- Tracing handwriting - upload someone's handwriting as a reference image overlay, then trace it stitch by stitch with authentic weight variation
- Drawing script and calligraphy styles where thick-and-thin contrast is key to the look
- Outlining motifs with fine lines that swell into thicker strokes at corners
Which Devices Support the Pressure Brush
The pressure brush requires a stylus that reports pressure data to the browser. These all work:
Apple Pencil (1st and 2nd generation) on iPad works fully with the pressure brush. Safari on iPad passes pressure data through to the browser, so every stroke responds to how hard you press - exactly as it does in drawing apps like Procreate. This is the smoothest experience and the most popular setup for cross stitch writing on Xstitchify.
Any iPad that supports Apple Pencil will work: iPad Pro, iPad Air (4th gen and later), iPad mini (6th gen and later), and the standard iPad (9th gen and later with the 1st gen Pencil).
Samsung S Pen on Galaxy Tab S and Galaxy Note/S Ultra phones works with the pressure brush. The S Pen uses Wacom's EMR technology, which provides pressure data through the browser on Samsung devices running Chrome.
If your Galaxy device came with an S Pen slot, pressure sensitivity should work. Devices confirmed to work include Galaxy Tab S7, S8, S9 and Up series, and Galaxy S22/23/24 Ultra phones.
Microsoft Surface Pen on Surface Pro, Surface Laptop Studio, and Surface Go tablets works with the pressure brush when using Chrome or Edge on Windows. The Surface Slim Pen (1st and 2nd generation) also works.
Make sure you're using a Chromium-based browser (Chrome or Edge) rather than Firefox, as pressure data from the Surface Pen passes through to the browser best on Chromium browsers.
Wacom tablets (Intuos, Cintiq, and One series) on desktop pass pressure data through Chrome and Edge. If your Wacom pen works with pressure in other web-based drawing tools, it will work here.
Mouse and trackpad input do not carry pressure - the brush will always draw at the maximum size you've set. This keeps the tool usable on any device, but you won't get the variable-width effect without a pressure stylus.
Finding the Pressure Brush in the Toolbar
The pressure brush lives in the editor toolbar, next to the regular brush tool. It uses a tapered stroke icon to distinguish it from the fixed-size brush. To select it:
- Open the Designer or any pattern in the editor
- Look for the brush tools group in the toolbar - you'll see the regular brush and the pressure brush side by side
- Click the pressure brush icon to make it your active tool
- A panel will appear (or expand in the toolbar) showing the Min size and Max size sliders
Min and Max Size Settings
The pressure brush has two size controls:
- Min size (1–5) - the narrowest stroke you'll get at the lightest touch. Set to 1 for fine, hairline detail with gentle pressure.
- Max size (1–8) - the widest stroke at full pressure. The default is 4, which gives a good range for writing. Set higher for bolder, more dramatic lettering.
The default settings (1 min, 4 max) are a good starting point for most handwriting and cursive lettering. If you find your thickest strokes aren't bold enough, increase the max. If the minimum feels too heavy for upstrokes, reduce it - but it can't go below 1.
How to Write Letters in Cross Stitch with the Pressure Brush
There are two approaches depending on whether you're working from a font or tracing real handwriting:
Approach 1: Trace Typed Text on a Locked Layer
- Open the Designer and create a canvas with enough room for your text
- Use the editor's text tool to drop your text onto a new layer - pick a cursive or script font (Great Vibes, Dancing Script and Sacramento all work well)
- In the layers panel, lock that layer and reduce its opacity to around 40-60% so the text sits as a ghost behind the grid
- Add a new layer on top, select the pressure brush, and trace each letter - varying your pressure to match the thick-and-thin weight of the font
- When you're done, hide or delete the original text layer to preview the pure stitched result
Approach 2: Trace Real Handwriting
- Write (or ask someone to write) the text you want - with good contrast on white paper if possible
- Take a clear photo or scan the handwriting
- Open the Designer, set up a canvas big enough for your text, and click Start Designing
- In the editor's Canvas Settings (gear icon → Reference image), upload your handwriting photo
- Adjust the opacity so the handwriting is visible as a ghost image behind the grid
- Select the pressure brush and trace each letter stitch by stitch, pressing harder on the thick downstrokes and lighter on the thin upstrokes
- Use the eraser to clean up any misplaced stitches as you go
- When done, turn the reference image opacity to 0 (or remove it) to preview the pure stitched result
Two-finger tap to undo. On iPad with Apple Pencil, a quick two-finger tap anywhere on the canvas undoes your last stroke - just like in Procreate. Undo as many times as you need without lifting the Pencil or reaching for a button.
How to Cross Stitch Cursive Letters
Cursive lettering in cross stitch has a long tradition - from elegant wedding samplers stitched in a single thread to bold monograms in silk. The pressure brush makes this achievable without hand-drafting each character on graph paper first.

A few things that help with cross stitch cursive letters:
- Zoom in - use pinch-to-zoom or the cell size slider to see individual cells clearly. At higher zoom you can place stitches precisely in the curves and joins of each letter.
- Keep connected letters joined - in cursive, letters link together. After placing each letter, trace the connecting stroke to the next one before moving on.
- Match the feel of the font - script fonts typically have thin ascenders and thick body strokes. Let your pressure follow that rhythm as you trace.
- Use a single colour - most cursive cross stitch looks best in one thread colour. Add a second colour for an outline or shadow effect if you want more definition.
- Check the overall shape frequently - zoom out regularly to verify the word reads clearly at normal scale, not just up close.
For Mouse and Finger Users
If you're using a mouse or your finger (without a stylus), the pressure brush still works - it just draws at the maximum size you've set, since there's no pressure data available. You'll get consistent thick strokes rather than variable ones. For writing, this is fine for block or print-style letters; for cursive with visible thick-thin contrast you'll want a pressure stylus.
As an alternative on non-stylus devices, you can use the regular fixed-size brush at different sizes - switch between size 1 for thin strokes and size 3 or 4 for thick fills, essentially mimicking the pressure effect manually.
Tips for Best Results
Start with a large canvas. Letter tracing always needs more space than you expect. A 150×60 stitch canvas gives room for a short word like a name. You can always crop unused space in the Canvas Settings panel later.
Keep the reference image lightly opaque. Too dark and it obscures the grid; too light and you lose the tracing lines. Around 40% opacity usually hits the sweet spot.
Slow down on curves. The grid is unforgiving on diagonal and curved shapes - every stitch is in a fixed cell. Stitching slowly and checking each cell placement gives you cleaner letter curves than trying to draw quickly.
Use symmetry for repeated letters. If your word has doubled letters (like "ll" or "tt"), you can stitch one and stamp or mirror it into position using the symmetry tools, then turn symmetry off to continue.
Related guides: Pattern Editor Guide · Designer Guide · Text Generator Guide
Was this guide helpful?
Still need help?
Send us a message and we'll get back to you as soon as we can. You can also reply to any email from Xstitchify.