Guides
Removing an image background
Leave the fabric showing around your subject, or keep the whole scene in your pattern. This guide explains the choices in the Pattern Maker and Adjust chart.
Choosing a background option
The Background menu has the same choices in the initial form and in Adjust chart. Background removal leaves empty, unstitched areas; it does not replace the background with white thread.
Keep background
Use this when the background is part of your design, such as a landscape or a scene. Areas that are already transparent in an uploaded PNG stay unstitched, so a ready-made transparent cutout usually needs no further removal.
Simple removal
Start here for a drawing, logo or text on a plain, single-colour background. This quick method looks for the background colour around the image edges. In Illustration / Drawing / Logo mode, it also clears small enclosed gaps, such as the centres of letters. Similar colours within the subject can be removed too, so check pale details against white backgrounds and dark details against black backgrounds.
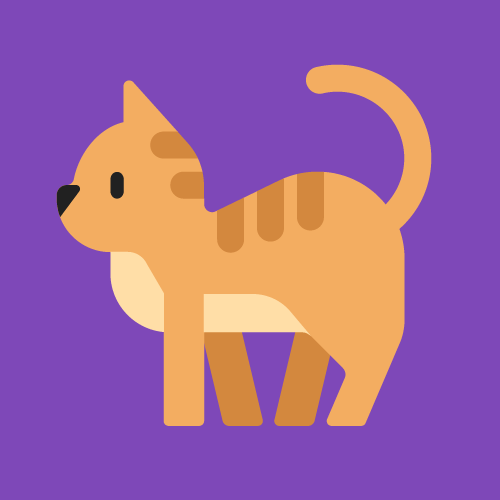

Smart cutout
Try this for a subject on a shaded, photographic or busy background. It tries to identify the subject, rather than looking for one background colour. It works with both image types and takes longer than Simple removal. Smart cutout appears when it is available.
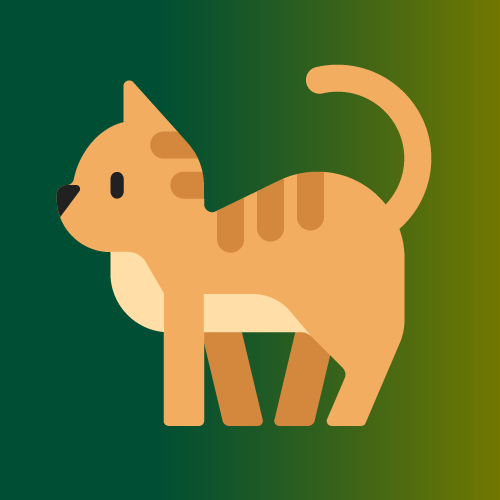

Both pattern examples use Illustration / Drawing / Logo mode, a longest side of 100 stitches, a maximum of 12 colours and DMC thread matching. Your result will vary with the image, size and colours you choose.
Check the result before stitching. Smart cutout can miss thin details, keep patches of background, or mistake decorative shapes for part of the subject. Look closely at tails, ears, fur and gaps between limbs. Crop distracting surroundings first, try Simple removal for a plain background, or use the editor's eraser for remaining stitches.
To try a different option, open Adjust chart, choose a background setting, then click Rebuild chart. This uses the original image and can replace manual stitch edits; save your work before rebuilding. Choosing Keep background restores the original image's background.
Was this guide helpful?
Still need help?
Send us a message and we'll get back to you as soon as we can. You can also reply to any email from Xstitchify.